Tractors, equipment & farm upgrades
Four things scale your farm: equipment length (sweep more rows per pass), trailer capacity (carry a bigger harvest), tractor tier (drive faster) and land plots (more field to work). Upgrades cost money; skipping the first two makes everything else slower.
Your farm in Never Enough Corn grows along four separate axes, and the game wants you to push all of them: equipment that works more rows, a trailer that carries more corn, a tractor that drives faster — and land that gives it all somewhere to work. Here's what each axis changes and what the numbers we've seen say about the scaling.
The four axes
| System | What upgrading it changes | Where you feel it |
|---|---|---|
| Equipment width | How many rows one pass sweeps | Time per field — the official pitch: "sweep up several rows at once" |
| Trailer / corn storage | How many ears a single run carries | Trips per field; a full trailer wastes growth time |
| Tractor tier | Speed and pull | Everything, indirectly — you drive everywhere |
| Land plots | Total field size | The ceiling on every other upgrade |
Equipment is modular, not just longer: the game lets you switch attachments and parts (the controls sheet lists "Switch Part Z"), which is how a seeder loadout becomes a harvester loadout without buying a second machine.
Equipment first, and it's not close
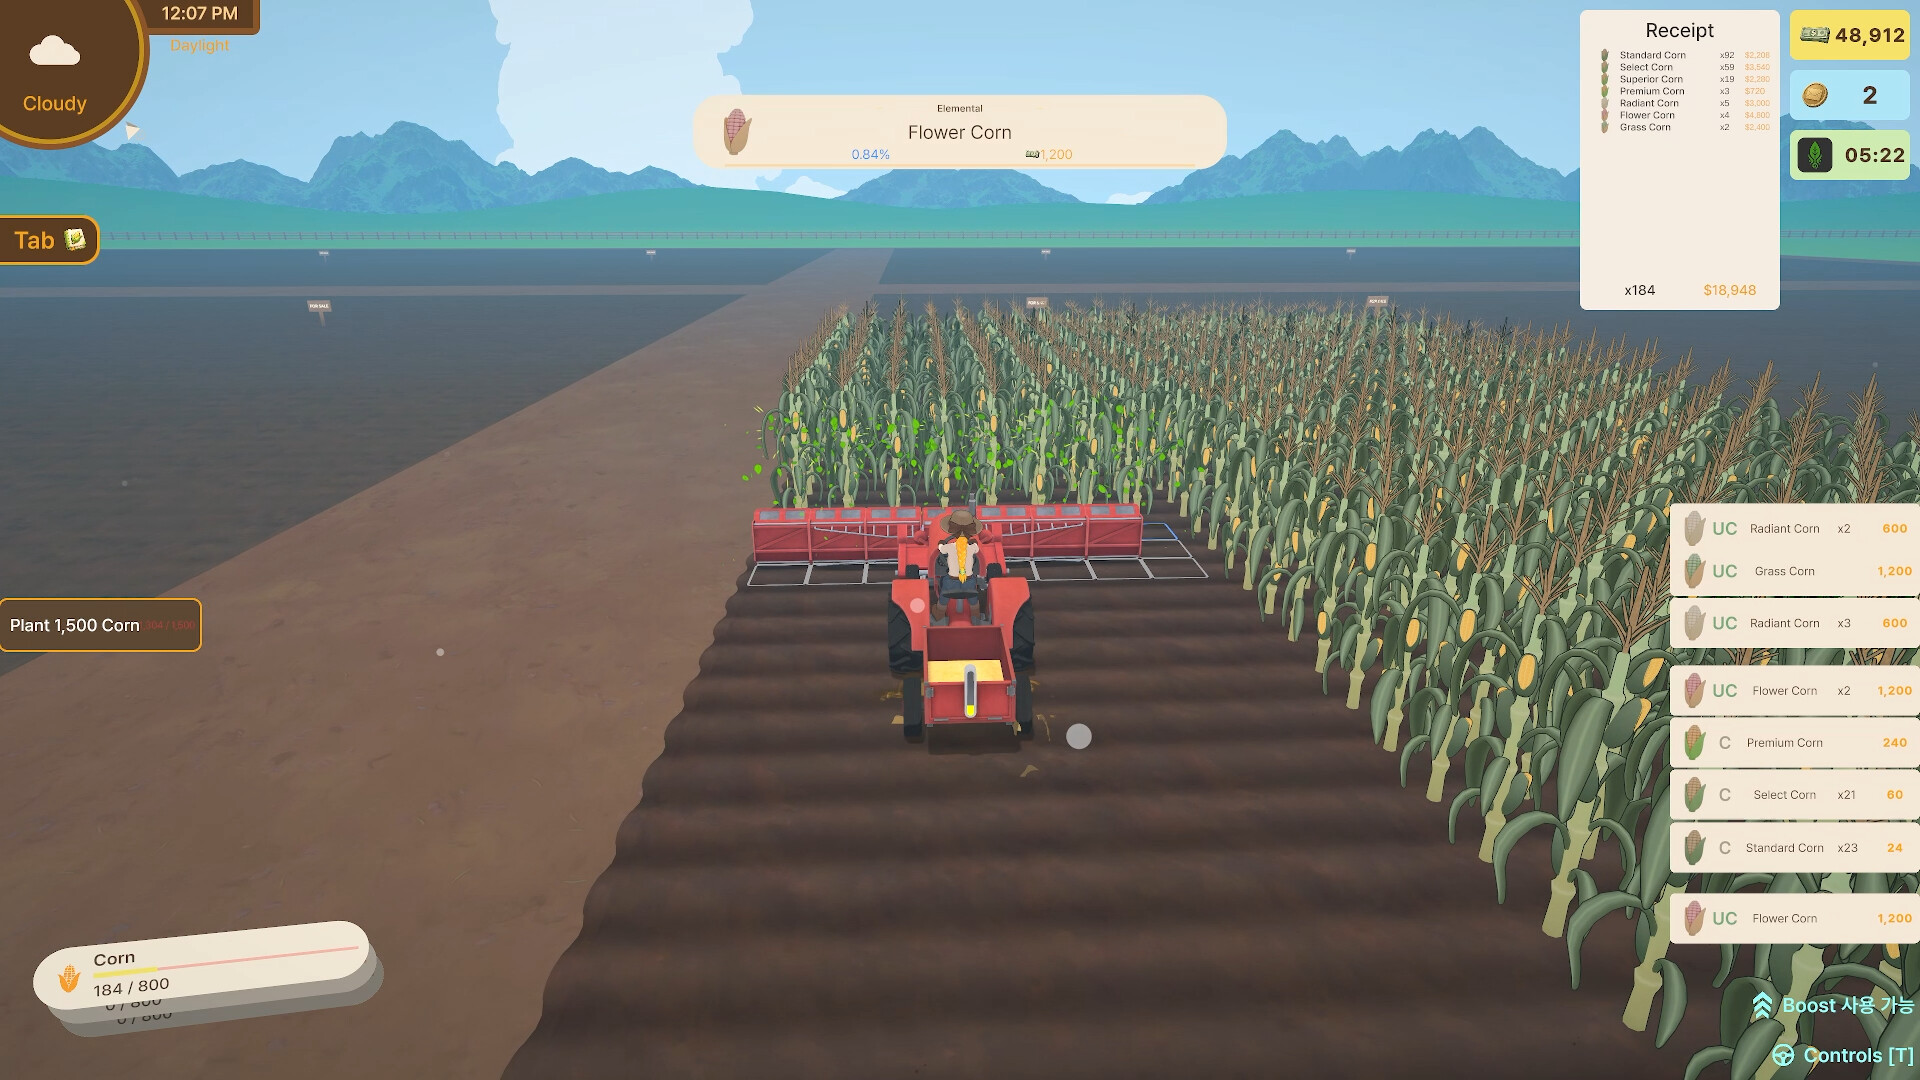
The official description leads with equipment for a reason: extending the machine to sweep several rows at once multiplies the value of every other purchase. A trailer upgrade with standard equipment spends most of its extra capacity waiting; a tractor upgrade with standard equipment just reaches empty rows faster. Width first, always.
The scaling counters we've seen
Official screenshots from different saves show what the ceilings look like as they climb:
| Counter | Early save | Later save |
|---|---|---|
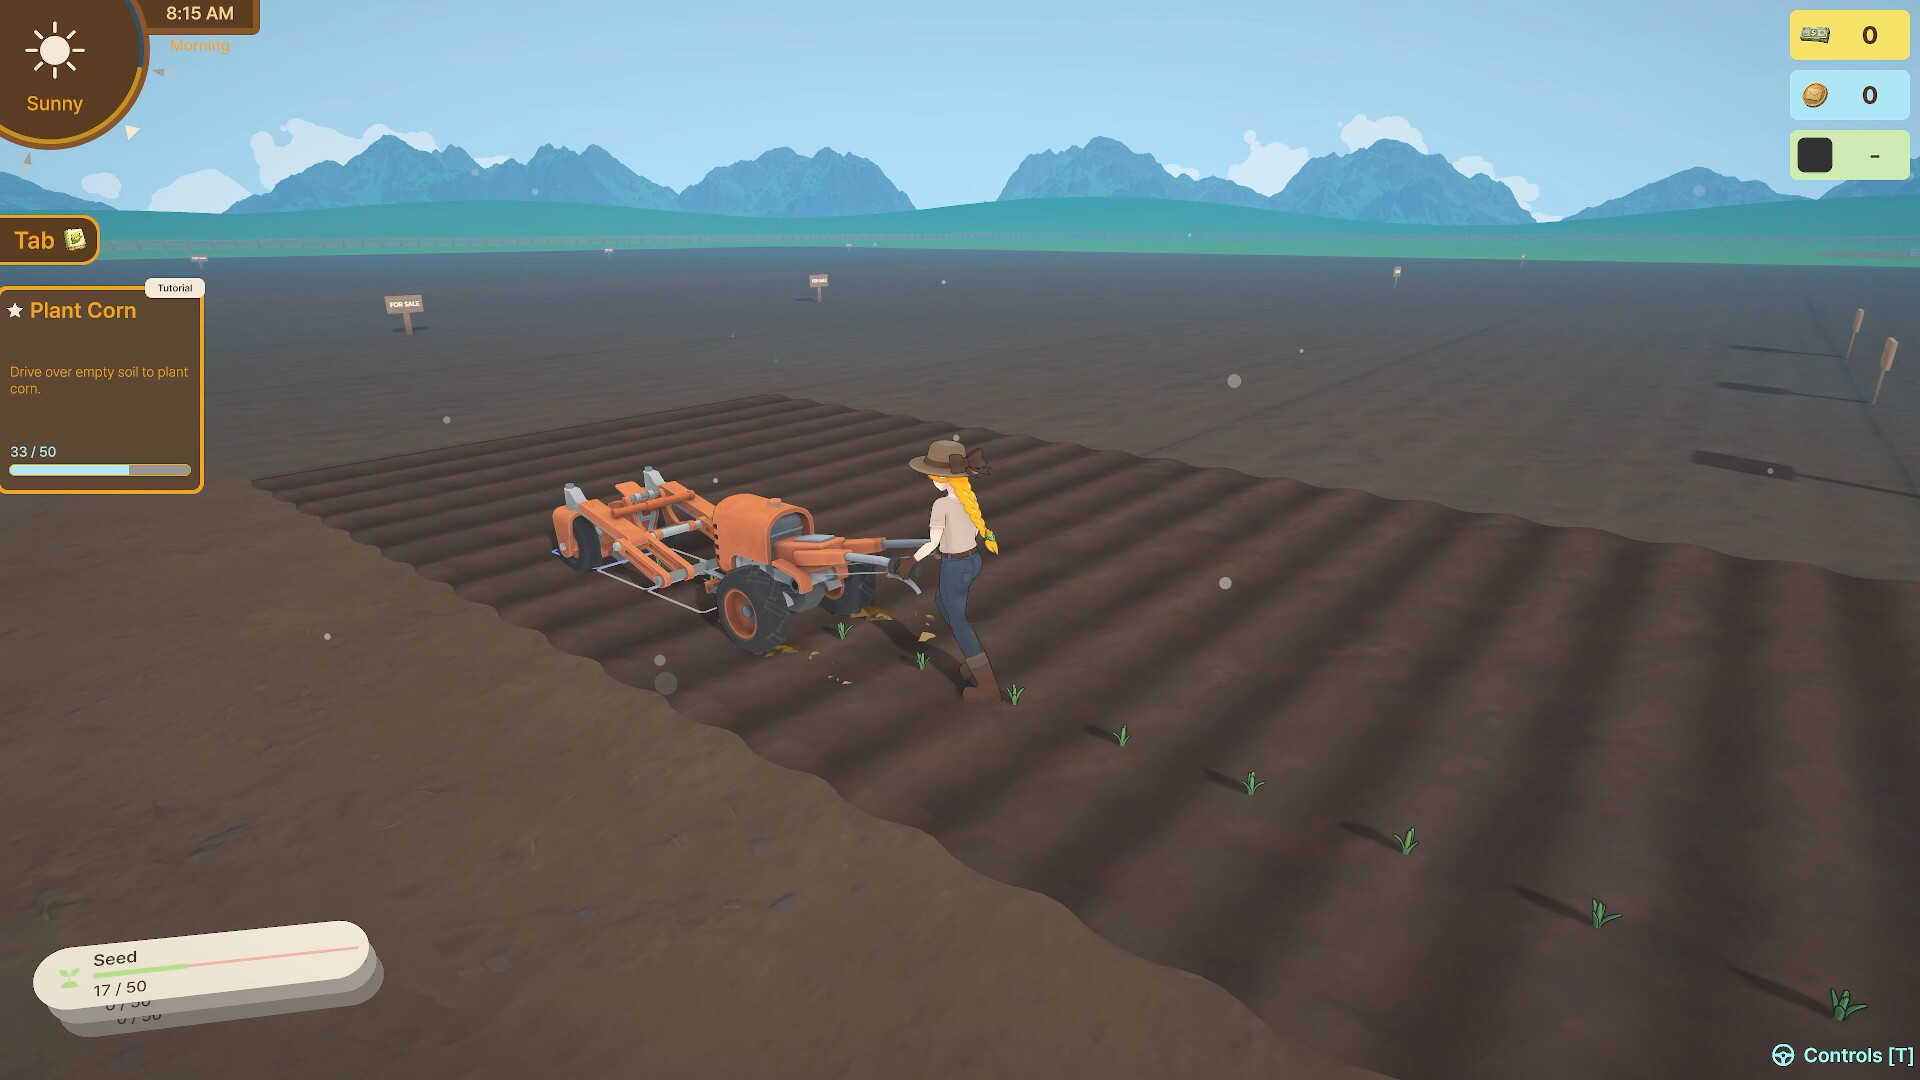
| Seeds | 17 / 50 | 1,038 / 4,860 |
| Corn storage (trailer) | 184 / 800 | — |
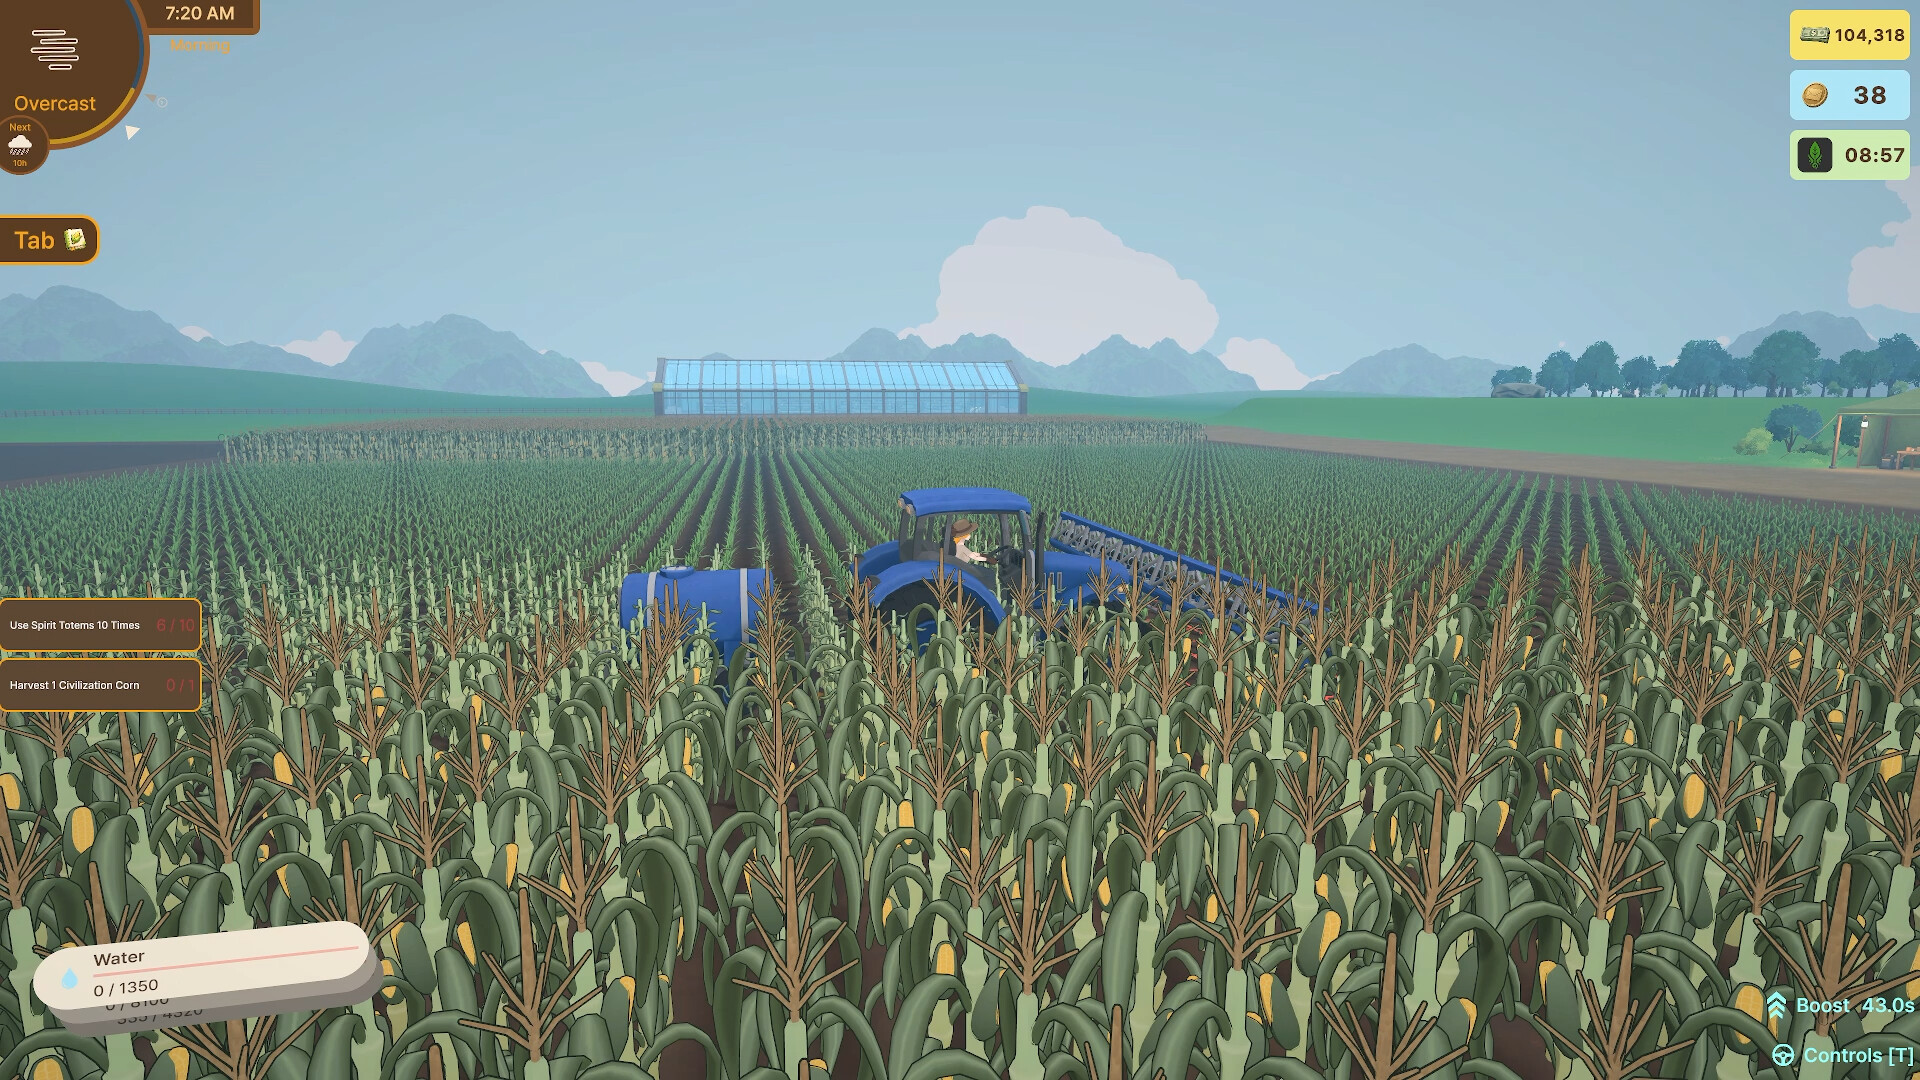
| Water tank | — | 0 / 1,350 |
Some of that growth is upgrades, some may be facilities — the exact ladder between the numbers is not documented publicly yet, and this page will not invent it.
Where the numbers come from
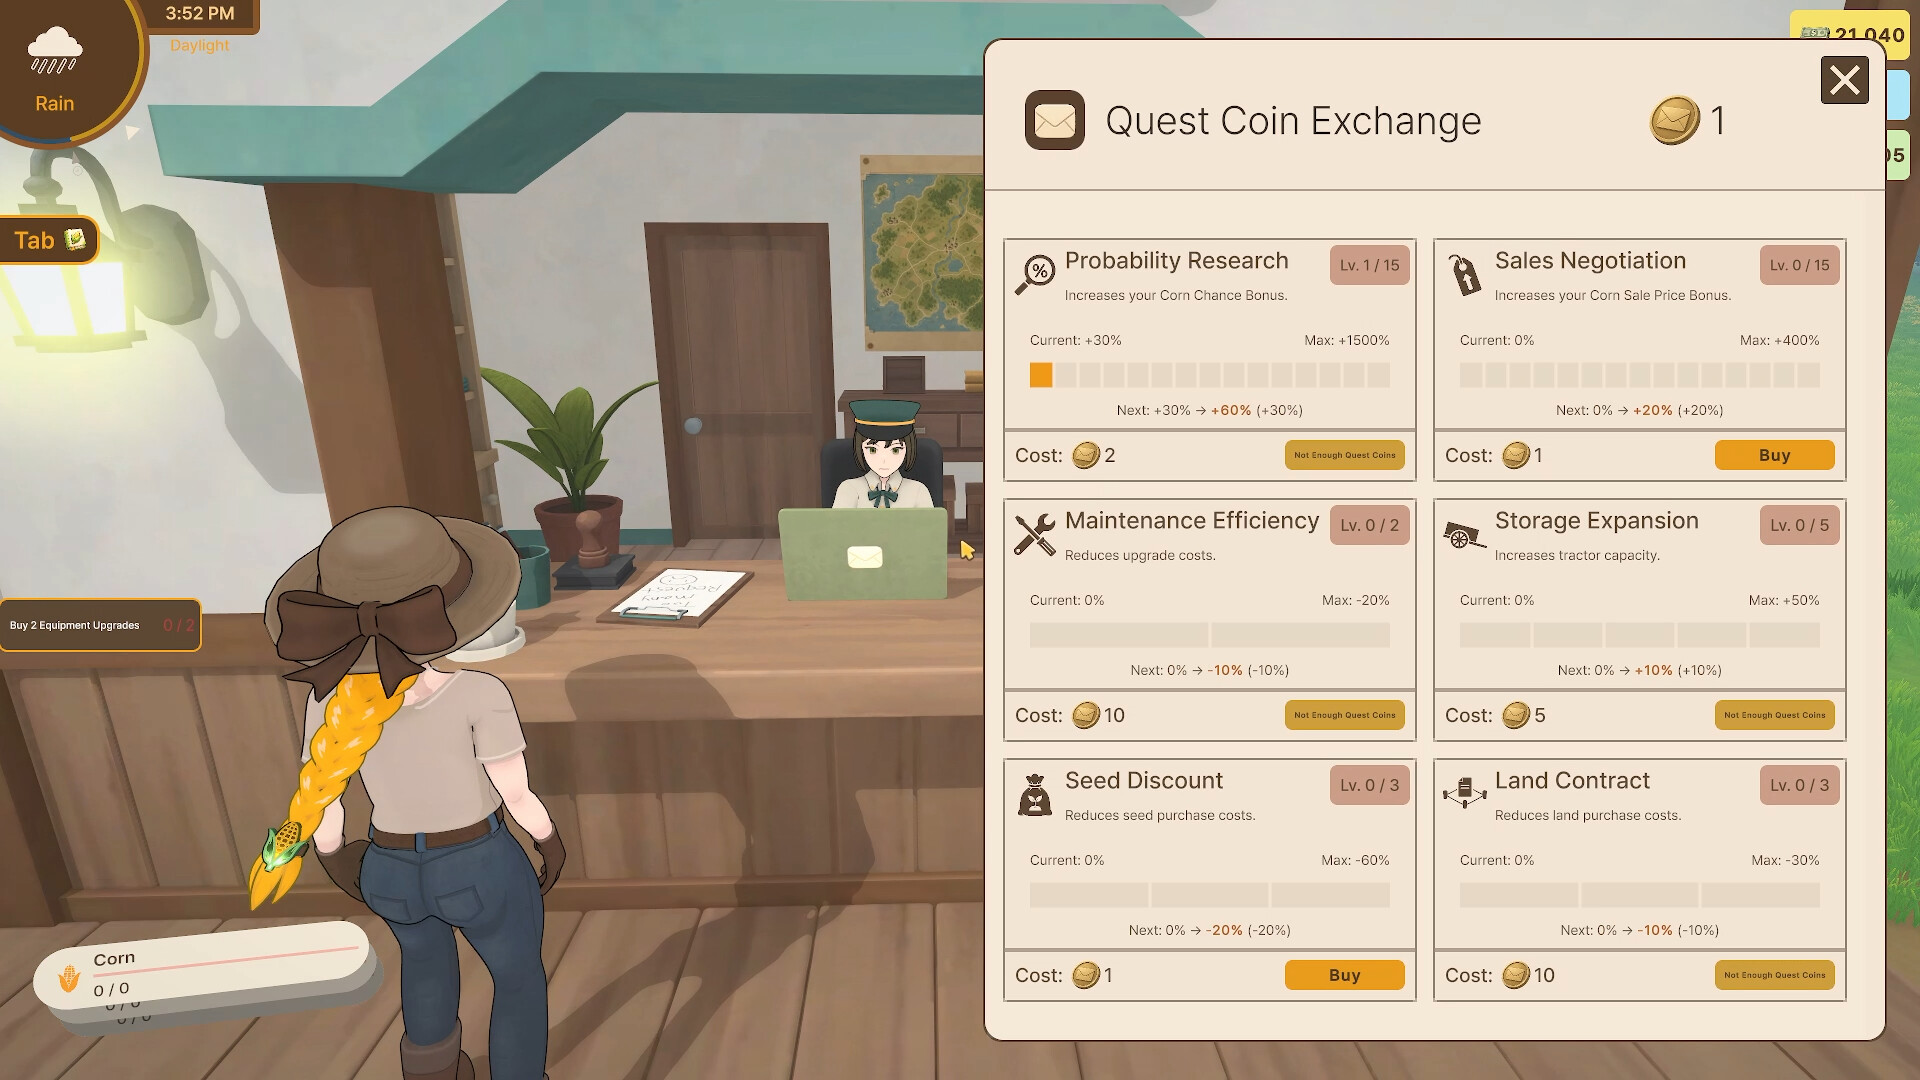
Three of the systems that scale these counters are bought with Quest Coins, not money — full table on the Quest Coin Exchange page:
- Storage Expansion — +10% tractor capacity per level, up to +50% at Lv.5 (costs 5 coins for the first level).
- Seed Discount — seed purchase costs −20% per level, up to −60% at Lv.3.
- Land Contract — land purchase costs −10% per level, up to −30% at Lv.3 (10 coins for the first level).
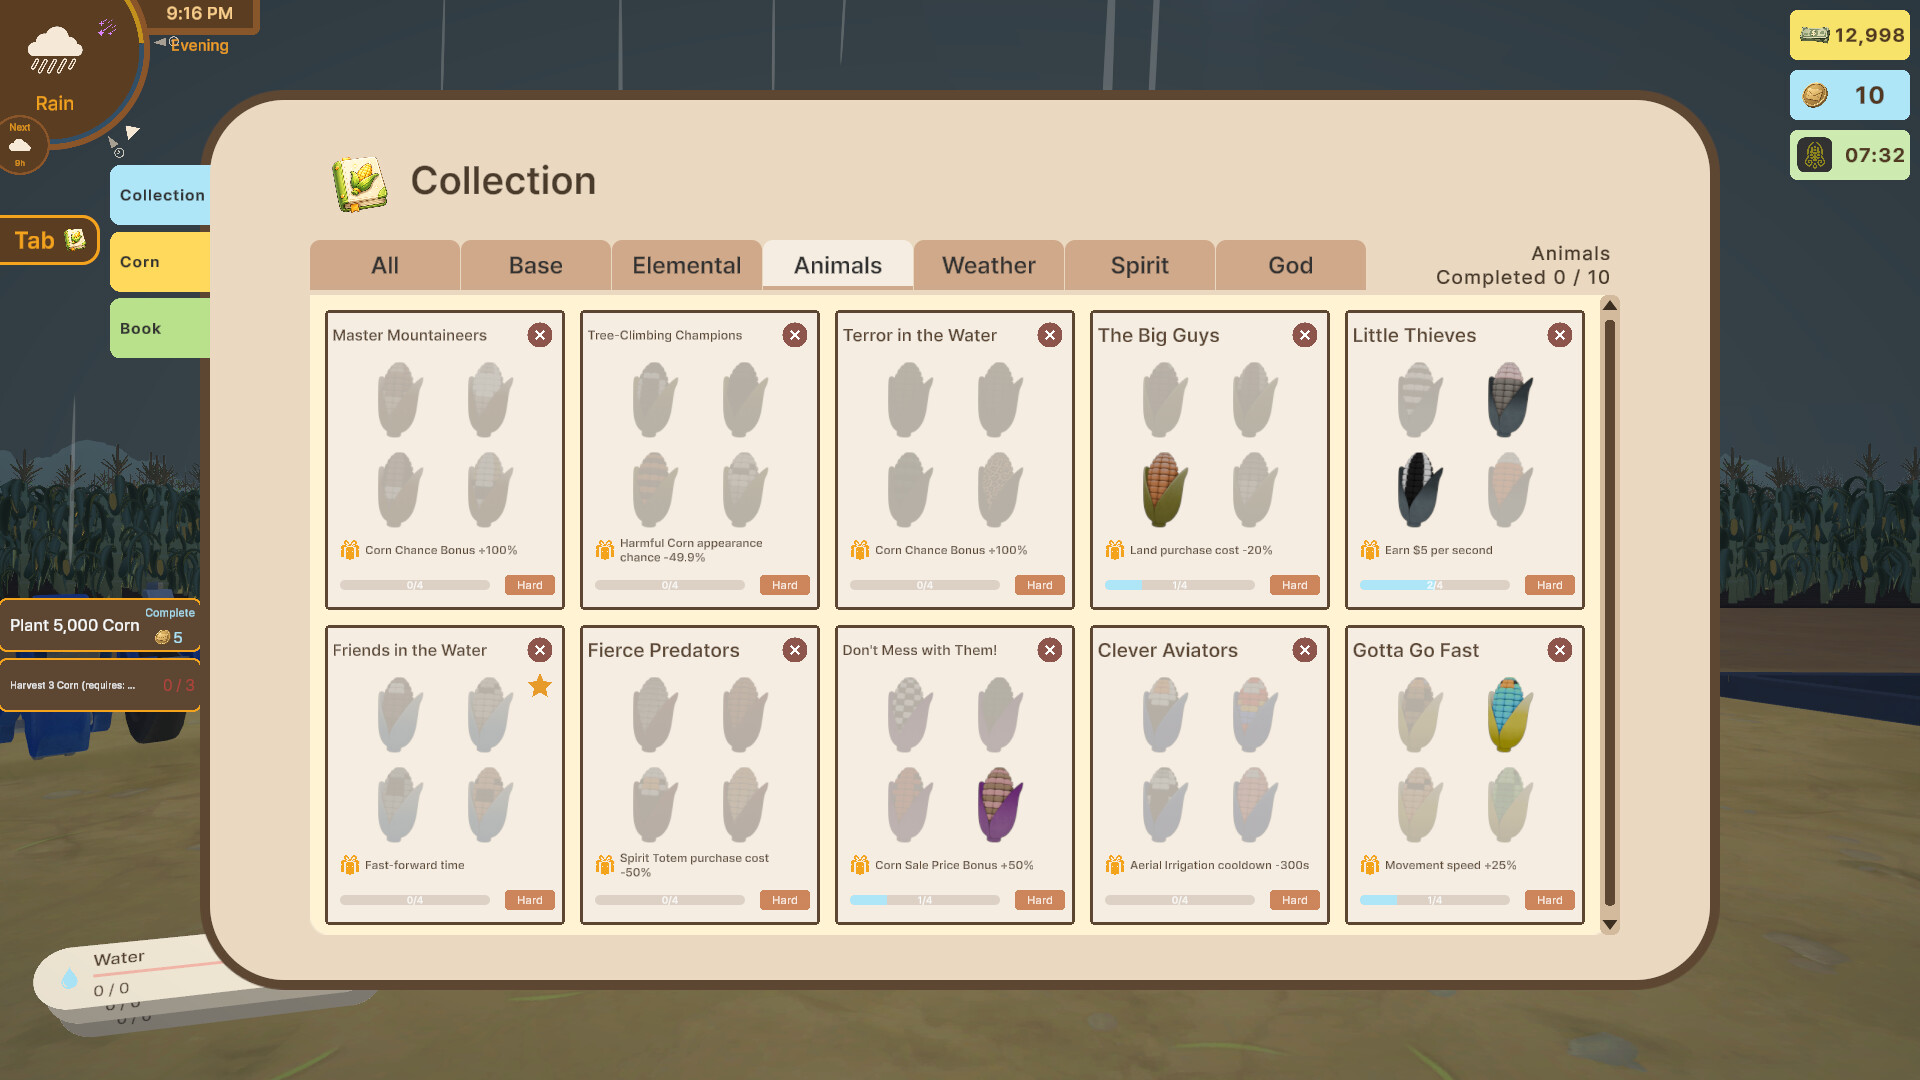
And two collection cards discount the same systems from the other side: The Big Guys takes −20% off land purchases, and Fierce Predators halves Spirit Totem prices. Discounts stack across systems only where the game says they do — we've marked candidates for testing rather than publishing a stacked number.
Land: the map is part of the build
Around the farm you'll find plots marked FOR SALE, and the background art shows a Request Office where orders live. Buying plots is permanent, and it pairs with the equipment ladder: every new plot is another strip your widened equipment sweeps in a single pass. With Land Contract maxed and The Big Guys complete, the math on expansion gets materially better — check both before a big land run.
What we recommend buying, in order
- Extend equipment width until a pass covers a satisfying band of the field.
- Trailer capacity one notch above whatever your widest equipment cuts in a run.
- Tractor speed when drives between field and sale point start to feel long.
- Land whenever a plot is affordable after the equipment is ready for it.