Weather, time & spirit totems
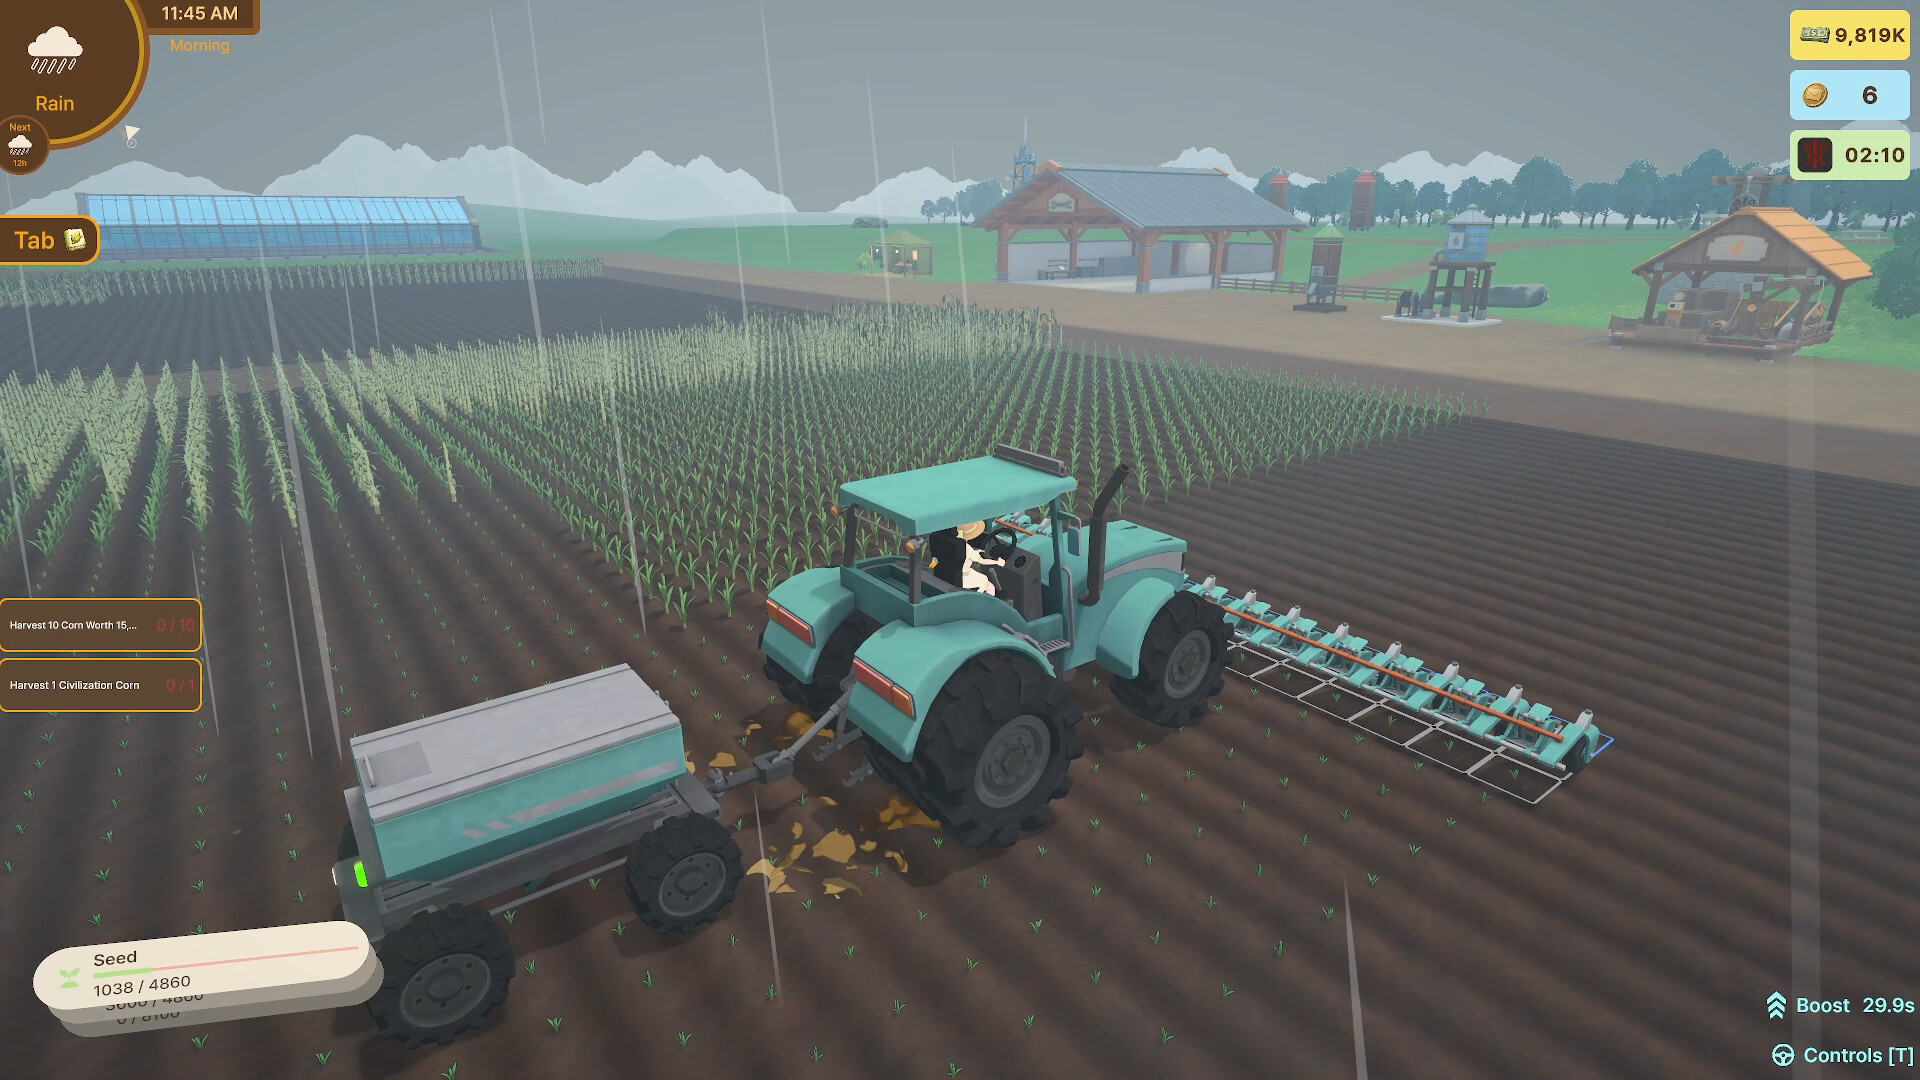
Special corn is gated by three conditions — time of day, current weather and your active totem. The game shows the current weather and the next window in the top-left HUD, so you can plan a harvest around what you're hunting.
One sentence in the store description runs this entire game's endgame: "The corn you can discover depends on the time, the weather, and your active totem." Three conditions, one harvest — and the HUD gives you the first two at a glance.
The weather clock
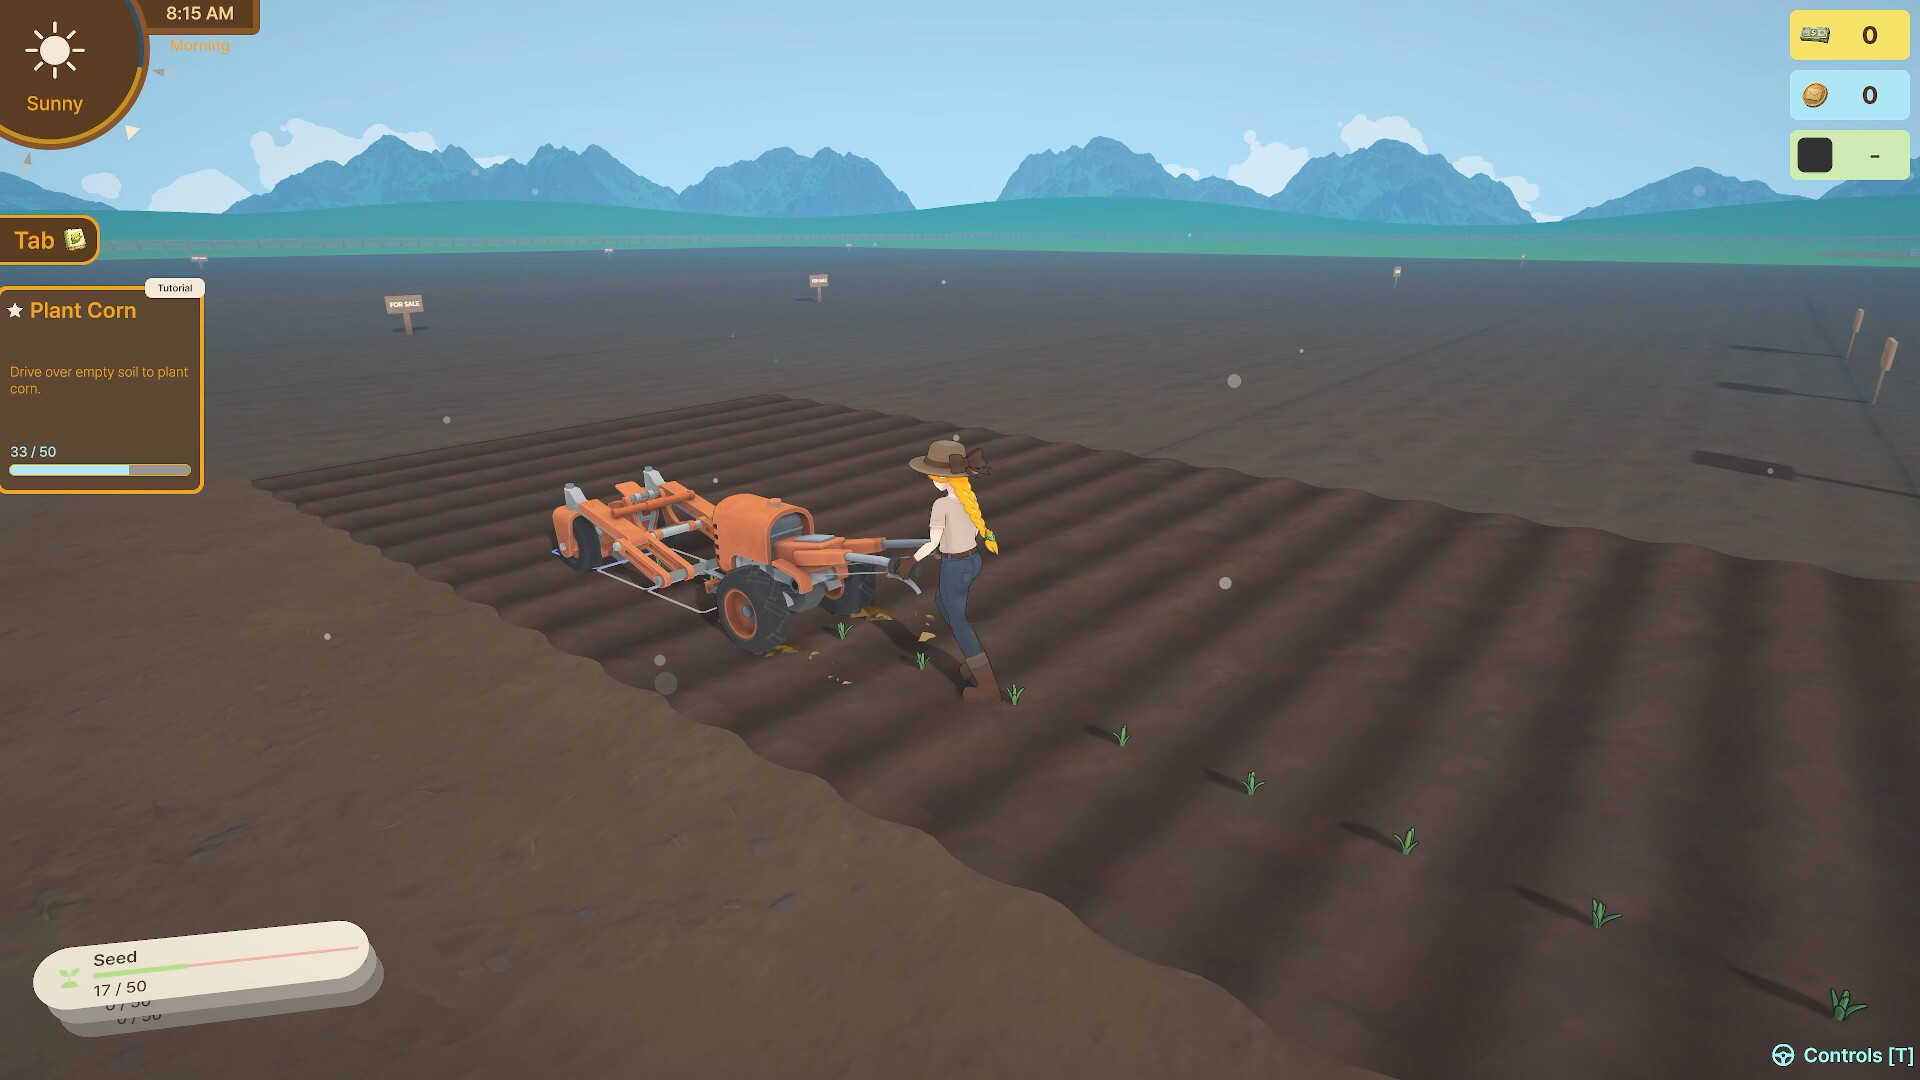
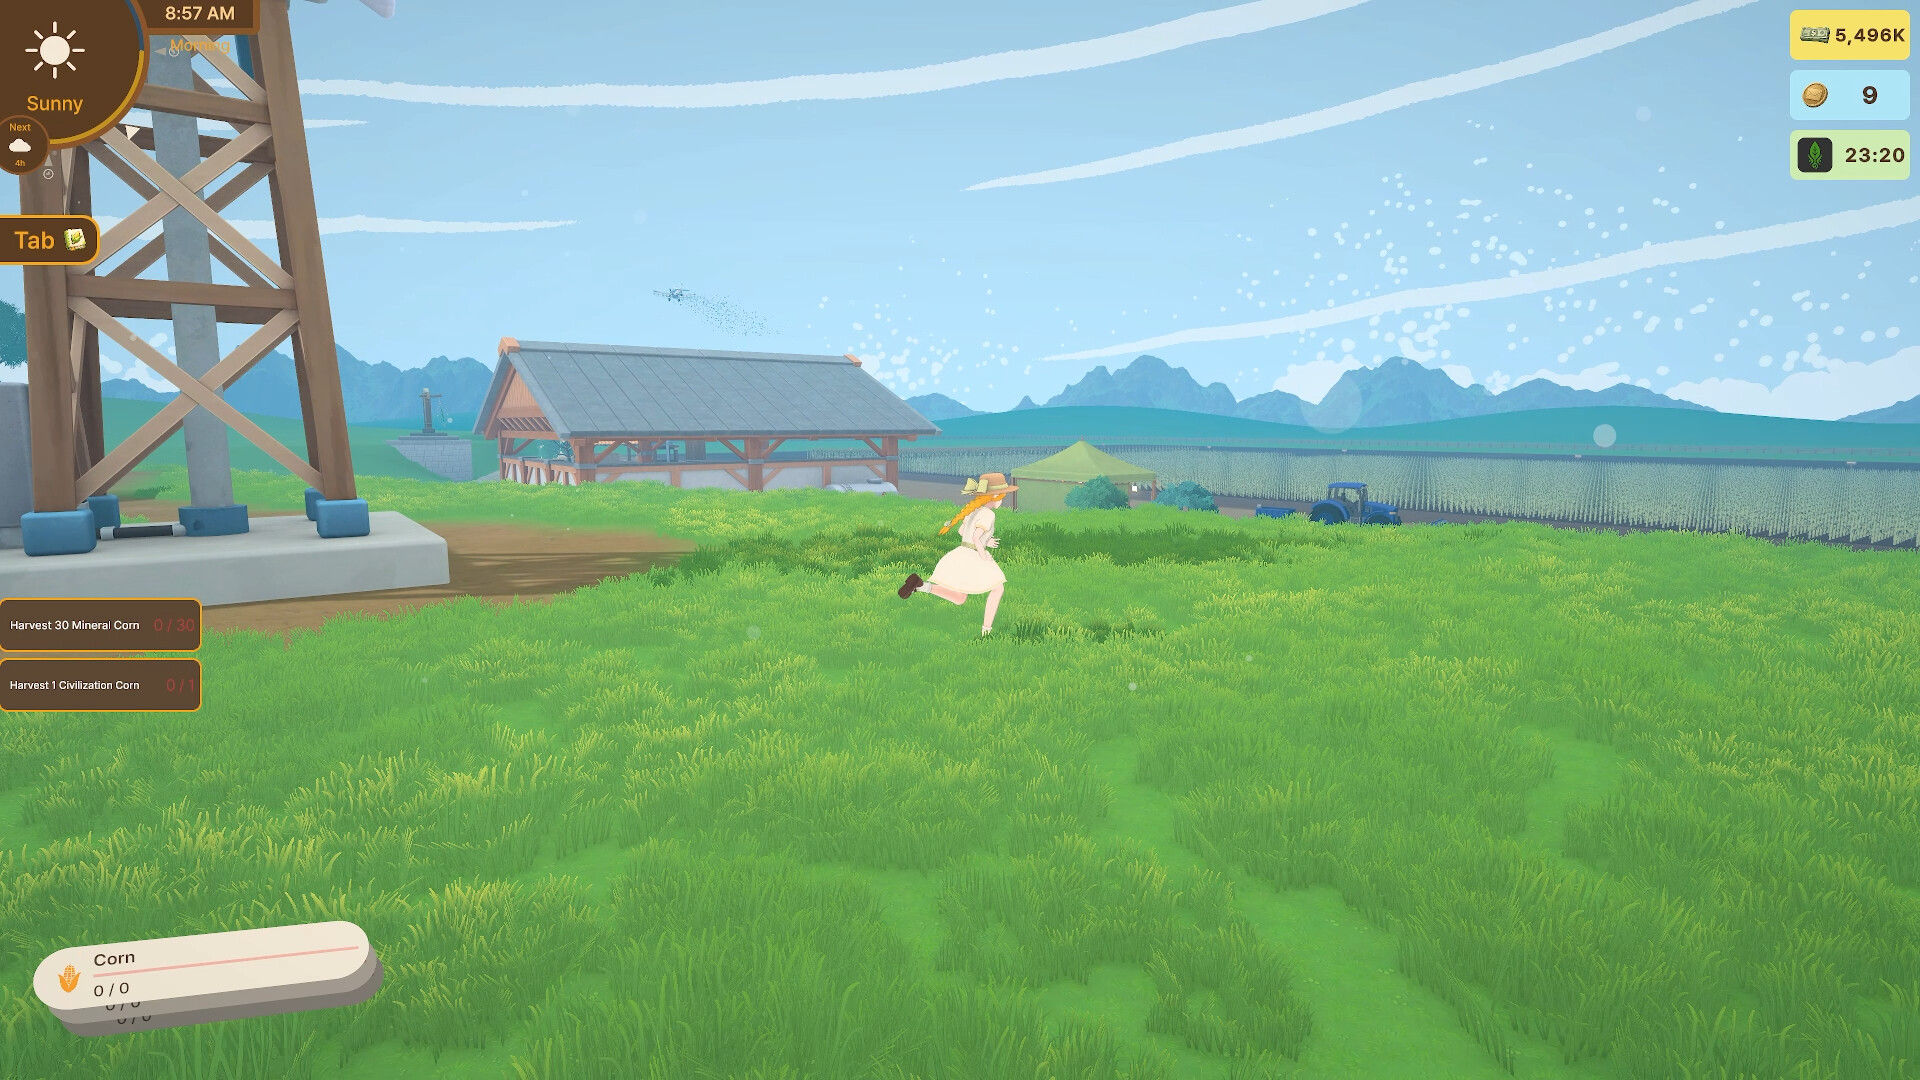
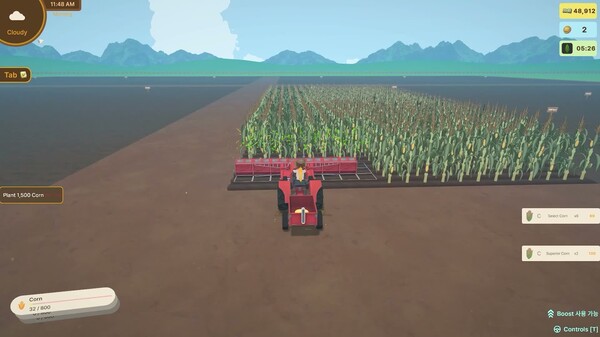
The top-left corner of the HUD is a weather station. It shows the current weather and a countdown — "Next 4h", "Next 8h", "Next 12h" — until the sky changes. Weather types seen in official screenshots: Sunny, Cloudy, Rain, Overcast.
Why it matters: varieties are gated behind conditions, so rain isn't atmosphere — it's a different loot pool. A field you harvest at 11:45 AM in rain rolls a different table than the same field at noon in sunshine. The window length in the HUD is your planning horizon: if you're four hours from a change, that's four in-game hours of whatever this weather unlocks.
Day phases
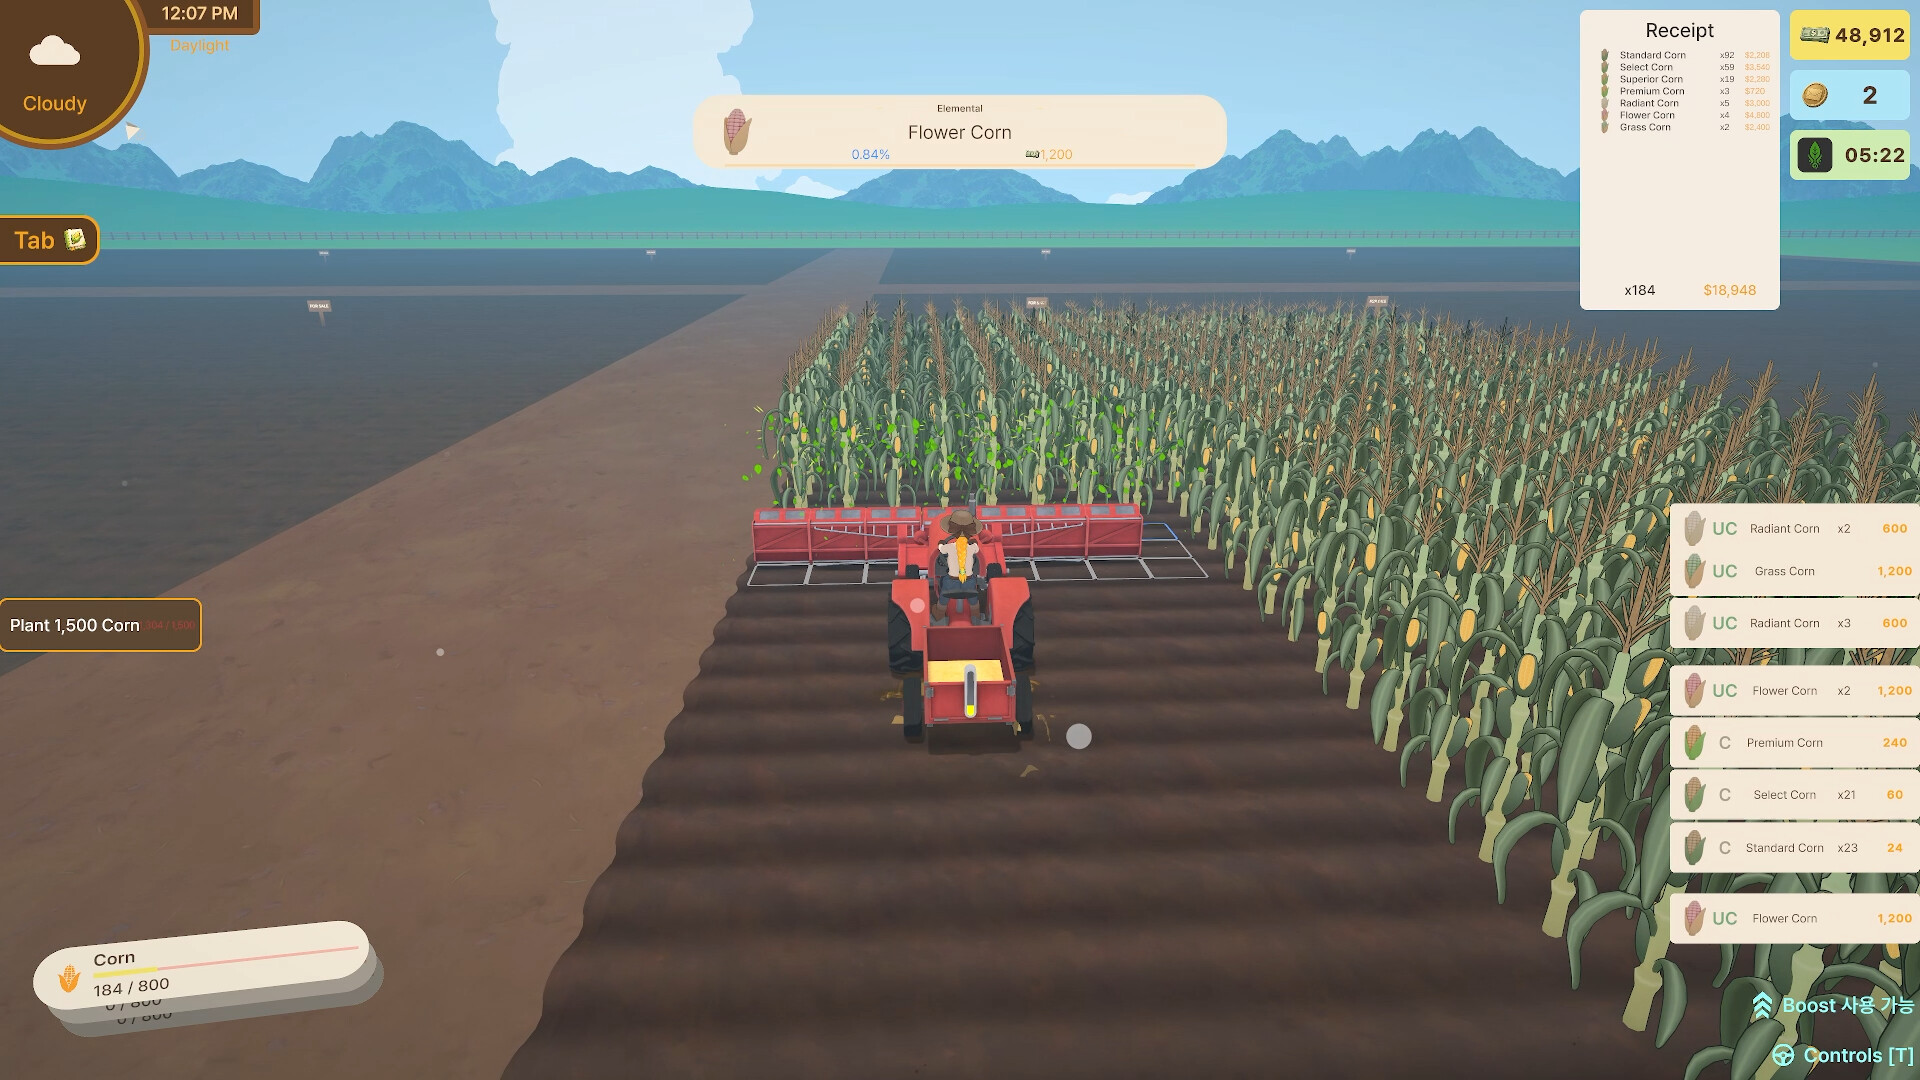
The clock tracks in-game time through phases — screenshots show Morning, Daylight and Evening — and time is the second condition slot. Harvest timing, not just planting timing, is what counts: the roll happens when the corn comes out of the ground.
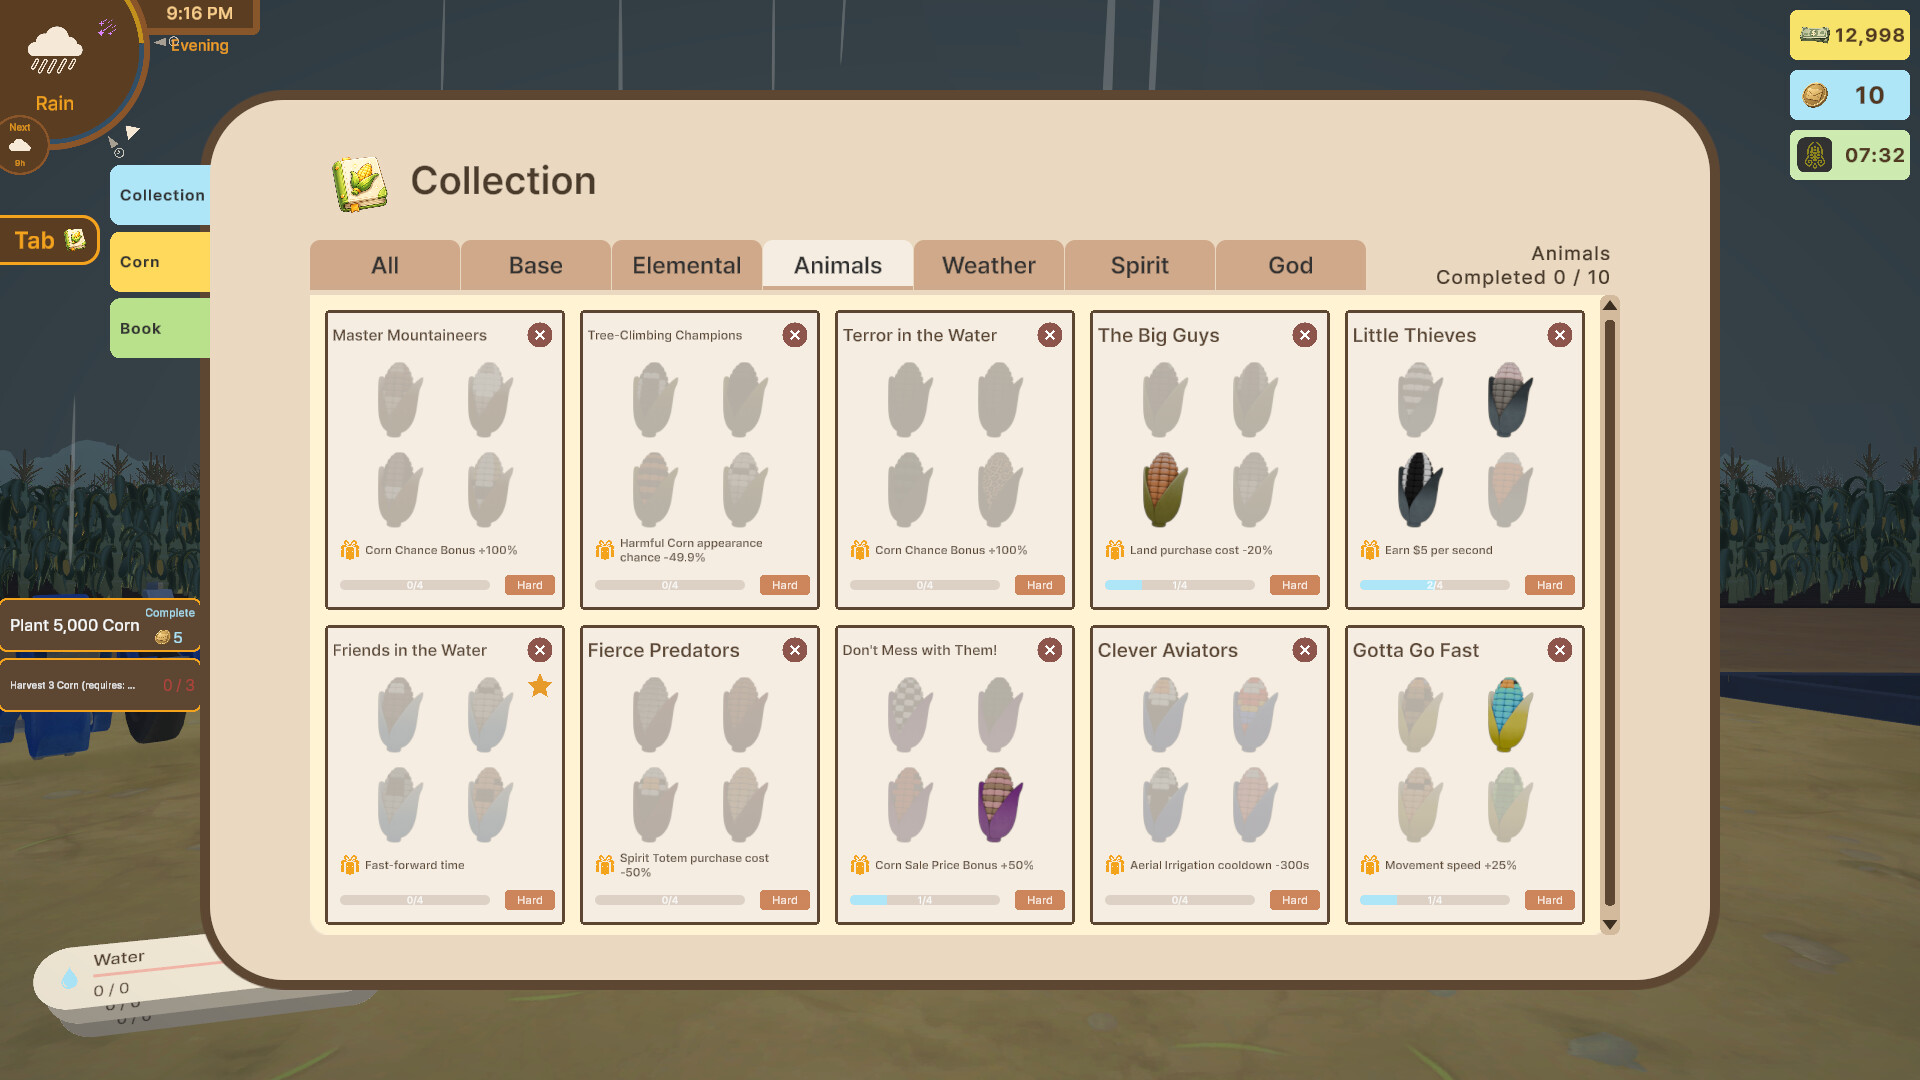
There's a quiet support system for this: one of the collection rewards is literally Fast-forward time. If you need a phase or weather window and don't want to farm through the wait, the game eventually lets you skip ahead.
Spirit Totems
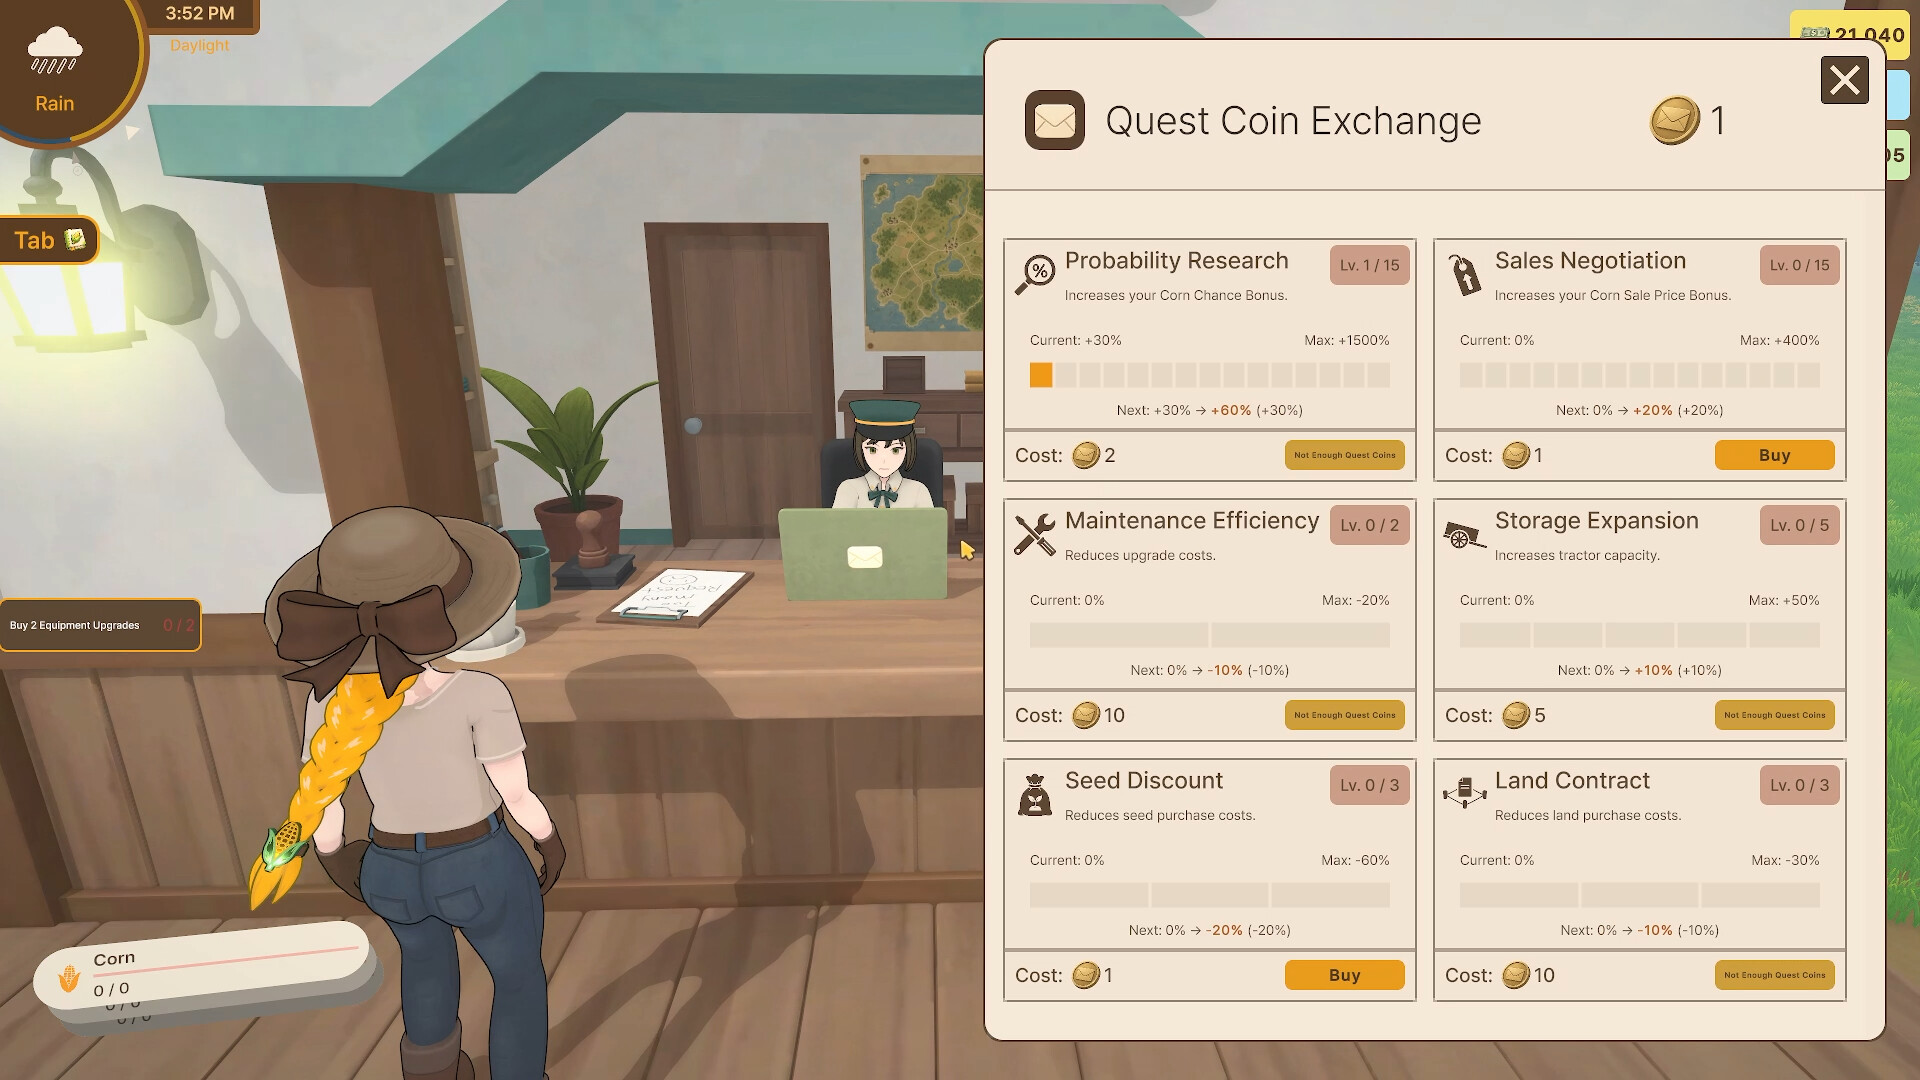
Totems are the third condition, and the only one you control directly. They're purchasable (a collection card discounts their price by 50%), and their use is tracked by quests — "Use Spirit Totems 10 Times" is a documented task. The store description names "your active totem" as part of the discovery formula, which tells you totems set conditions rather than just add passive stats.
What the game does not tell you yet, and what we won't invent: the exact table of totem → variety. That mapping is exactly the kind of thing the community documents save by save — if you have a find, send it in.
The three conditions, assembled
| Condition | Where you see it | How you change it |
|---|---|---|
| Time of day | HUD clock + phase label | Play on, or Fast-forward once unlocked |
| Weather | HUD weather icon + "Next" timer | Wait for the window, or Fast-forward |
| Active totem | Set before you start working | Purchase/switch totems; discounted by Fierce Predators |
A practical hunting flow
- Before a big field, check the forecast. Long window + the condition you need = commit. Wrong weather = do equipment chores instead.
- Switch your totem to match what you're hunting — the totem slot is the one condition you set freely.
- Time the harvest, not the planting. Watch the "Next" timer so the roll lands inside your target window.
- Log what drops. The discovery banner names each find and its rate — cross-reference it with the conditions you were under. That's how you build your own condition table before one exists publicly.
- Feed the collection immediately — condition-gated finds are often collection cards, and the bonuses they pay (chance, sale price) improve every future window.